Microscopy and Image Measurement
Select and maintain a laboratory microscope by checking the measurement task, optics, illumination, cleanliness, calibration, and verification needs.
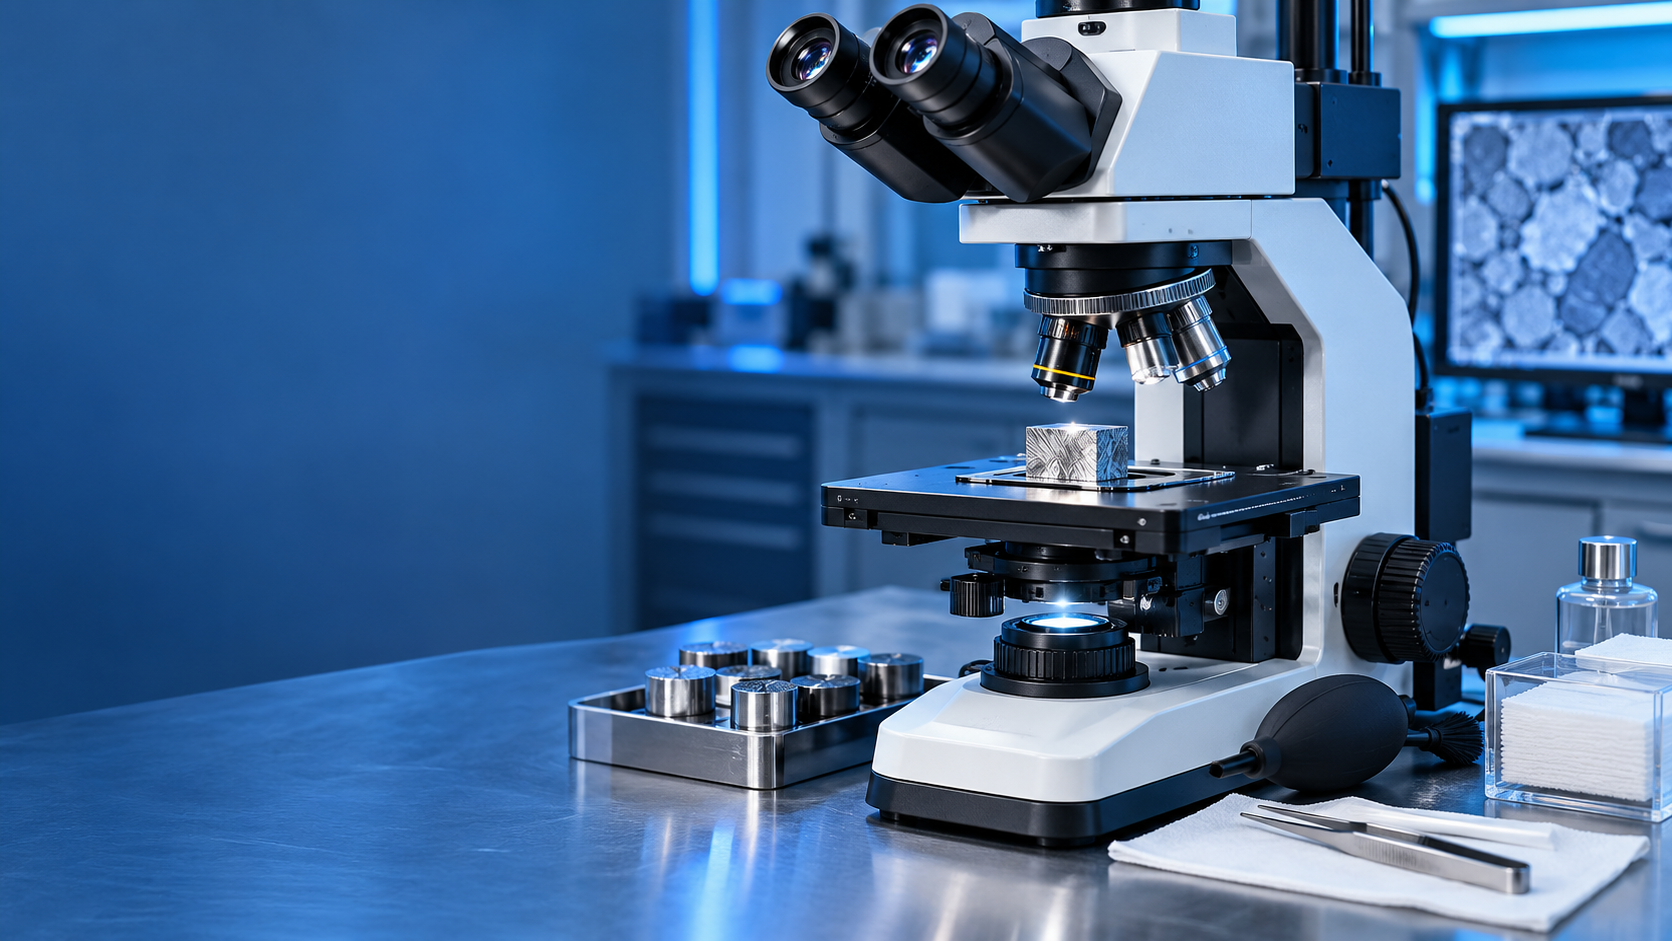
Choosing a microscope is not simply a matter of selecting the highest magnification or the most expensive optical system. In metallurgy, manufacturing, research, quality control, and inspection laboratories, the right microscope must match thespecimen, inspection objective, magnification range, lighting method, image quality, working distance, and measurement requirements.
At the same time, even a high-quality microscope can produce disappointing results if the optics, specimen, stage, or surrounding work area are not kept clean.
This is whymicroscope selection and cleanliness workflowshould be considered together. A suitable microscope provides the required optical capability, while a controlled cleaning and handling routine helps maintain image quality and repeatability.
This guide explains how to approach both decisions from a practical laboratory and inspection perspective.
Why Microscope Selection Matters
A microscope is an inspection system, not simply a device for making an object appear larger.
The objective should be to obtainuseful and reliable information from the specimen.
Depending on the application, a laboratory may need to examine:
- Metallographic specimens
- Weld cross-sections
- Machined surfaces
- Coatings and layers
- Microstructures
- Failure features
- Particles and inclusions
- Surface defects
- Electronic or precision components
- Biological or research specimens
The correct microscope configuration can therefore vary considerably between applications.
For example, a microscope intended for routine metallurgical examination may require different illumination, objectives, stage design, and image documentation capabilities than a system used primarily for biological specimens.
Start With the Inspection Objective
Before comparing microscope models, define what you actually need to see.
Ask: What information must the microscope provide?
Possible objectives include:
- Observing surface features
- Examining material microstructure
- Measuring dimensions
- Identifying defects
- Comparing samples
- Recording images
- Performing documentation
- Conducting routine quality inspection
- Supporting research and failure analysis
This first step prevents a common purchasing mistake: choosing equipment based on specifications that look impressive but are not particularly useful for the intended application.
Magnification Is Not the Only Selection Factor
A common misconception is:
Higher magnification automatically means better microscopy.
It does not.
Useful microscopy depends on factors includingresolution, numerical aperture, optical quality, illumination, contrast, specimen preparation, and image quality.
If magnification is increased beyond what the optical system can meaningfully resolve, the image may simply become larger without revealing additional detail.
Therefore, when selecting a microscope, consider the combination of:
- Magnification
- Resolution
- Objective quality
- Numerical aperture
- Illumination
- Contrast
- Working distance
- Field of view
- Mechanical stability
- Camera performance
The practical question is not:
"How much can it magnify?"
It is:
"Can it reveal the feature I need to inspect clearly and consistently?"
Microscope Selection by Application
Metallurgical Microscopes
For metallurgy and materials laboratories, ametallurgical microscopeis commonly designed around examination of opaque specimens.
Important considerations can include:
- Reflected-light illumination
- Suitable metallurgical objectives
- Stable mechanical construction
- Appropriate stage movement
- Polarization or other contrast techniques where required
- Digital imaging
- Measurement capability
- Suitable sample preparation workflow
These systems are commonly used for examining polished and prepared metallic specimens, microstructures, inclusions, welds, and other material features.
Stereo Microscopes
A stereo microscope can be useful when the operator needs a more three-dimensional view and a relatively large working area.
Applications may include:
- Component inspection
- Assembly inspection
- Surface examination
- Defect identification
- Small-part handling
- Manufacturing inspection
The relatively large working distance can be valuable when the operator needs to manipulate a specimen under magnification.
Digital Microscopes
Digital microscopy systems use a camera and display for viewing and documenting specimens.
They can be useful when:
- Images need to be saved.
- Inspection results need to be documented.
- Multiple people need to view the same image.
- Measurements need to be performed digitally.
- Inspection reports require photographic evidence.
However, camera resolution should not be evaluated independently from the microscope's optics and illumination.
A high-resolution camera cannot compensate for poor optical resolution, unsuitable illumination, vibration, contamination, or poor specimen preparation.
Key Factors to Check Before Buying a Microscope
Use this checklist when evaluating a microscope for laboratory or industrial inspection.
1. Application
Identify the type of specimen and inspection task.
2. Magnification Range
Select a useful range rather than simply choosing the highest available magnification.
3. Resolution
Determine whether the optical system can resolve the smallest feature that needs to be inspected.
4. Objective Quality
Objectives have a major influence on image quality and resolution.
5. Illumination
The illumination system should suit the specimen and inspection method.
For metallurgical work, reflected illumination can be particularly important because many samples are opaque.
6. Working Distance
Working distance becomes important when samples are large, irregular, or need manipulation during inspection.
7. Stage
Consider:
- Stage size
- Travel
- Stability
- Sample holding
- Fine positioning
8. Camera and Imaging
If digital documentation is required, assess:
- Camera resolution
- Dynamic range
- Frame rate
- Software
- Image storage
- Measurement tools
- Calibration functions
9. Ergonomics
The microscope should be comfortable for the intended working period.
Poor ergonomics can reduce inspection efficiency and increase operator fatigue.
10. Maintenance and Service
Consider availability of:
- Replacement lamps or illumination components
- Objectives
- Eyepieces
- Camera accessories
- Cleaning supplies
- Technical support
- Preventive maintenance
A microscope is a long-term laboratory asset, so serviceability matters.
Why Microscope Cleanliness Matters
Even when the microscope itself is technically capable, contamination can degrade the inspection experience.
Dust, fingerprints, oil, particles, and residue can interfere with optical surfaces and specimens.
However, cleaning should not mean aggressively wiping every visible surface.
Incorrect cleaning can cause more damage than ordinary dust.
Optical surfaces can be delicate, and unsuitable materials or excessive pressure may damage coatings or leave scratches.
A better approach is to use acontrolled microscope cleanliness workflow.
Microscope Cleanliness Workflow
Step 1: Prepare the Work Area
Before cleaning the microscope:
- Keep the work area organized.
- Remove unnecessary materials.
- Prevent dust-generating activities nearby.
- Keep liquids away from exposed optical components.
- Use clean handling practices.
The purpose is to prevent contamination from being introduced during cleaning.
Step 2: Inspect Before Touching
Look at the optical surfaces and determine what type of contamination is present.
Possible contamination includes:
- Loose dust
- Fingerprints
- Oil
- Smudges
- Sample particles
- Cleaning residue
Do not immediately wipe an optical surface simply because a particle is visible.
Step 3: Remove Loose Dust Carefully
Loose particles should generally be removed using an appropriate optical cleaning method rather than being rubbed aggressively across the surface.
Avoid using ordinary tissue, clothing, or paper towels on precision optical surfaces.
Step 4: Clean Only When Necessary
If an optical surface has fingerprints or residue, use a cleaning method appropriate for that specific optical component and the manufacturer's recommendations.
Different microscope components may require different cleaning procedures.
Step 5: Clean the Specimen
The sample itself is equally important.
A dirty specimen can create:
- False features
- Reduced contrast
- Unwanted shadows
- Contamination
- Misleading surface observations
For metallographic examination, specimen preparation may include processes such as cutting, mounting, grinding, polishing, and etching, depending on the inspection objective.
Step 6: Check the Stage and Sample Area
The stage should be kept free from:
- Metal particles
- Polishing debris
- Oil
- Abrasive residue
- Dust
Particles around the stage can affect specimen positioning and may eventually migrate toward sensitive components.
Step 7: Inspect the Image
After cleaning, examine a suitable reference or known sample.
Look for:
- Improved clarity
- Consistent illumination
- Reduced artifacts
- Better contrast
- Stable focus
- Unwanted spots or shadows
If image defects remain, do not assume that the lens is dirty. The problem could originate from illumination, the camera, specimen preparation, focus, alignment, or another part of the optical system.
Microscope Cleaning: What Not to Do
- Do not wipe optical surfaces with ordinary cloth.
- Do not use abrasive materials.
- Do not apply excessive pressure.
- Do not spray liquid directly onto sensitive optical components unless the manufacturer specifically permits it.
- Do not touch optical surfaces unnecessarily.
- Do not use unknown solvents on optical coatings.
- Do not disassemble optical components simply to remove ordinary dust.
- Do not clean the microscope while the sample is producing loose abrasive particles nearby.
When in doubt, follow the microscope manufacturer's cleaning instructions.
Sample Cleanliness vs. Microscope Cleanliness
This distinction is especially important in industrial microscopy.
A clean microscope cannot compensate for poor specimen preparation.
For example, in metallography, an improperly ground or polished specimen may show scratches, pull-outs, smearing, contamination, or preparation artifacts.
These features can be mistaken for actual material characteristics.
Therefore, a good inspection workflow considers both:
Instrument condition + specimen condition
rather than focusing exclusively on the microscope.
Common Causes of Poor Microscope Images
If an image suddenly looks worse than expected, check the problem systematically.
Dust or Contamination
Look for particles or residue on relevant optical surfaces or the specimen.
Poor Specimen Preparation
The surface may contain scratches, polishing artifacts, contamination, or other preparation-related defects.
Incorrect Illumination
Insufficient, excessive, or poorly adjusted illumination can affect contrast and visibility.
Focus
Confirm that the specimen is properly positioned and focused.
Objective Selection
An unsuitable objective may not provide the required combination of magnification, resolution, and working distance.
Vibration
Mechanical vibration can reduce image stability, particularly at higher magnifications.
Camera Settings
For digital systems, exposure, white balance, gain, focus, and other imaging parameters can influence the recorded image.
Microscope Cleanliness Checklist
Use the following checklist as a simple laboratory routine.
Before Inspection
- ☐ Work area is clean and organized.
- ☐ Sample is appropriately prepared.
- ☐ Sample is free from loose contamination.
- ☐ Microscope appears free from obvious contamination.
- ☐ Required objective is selected.
- ☐ Illumination is functioning correctly.
- ☐ Camera and display are operating normally.
During Inspection
- ☐ Avoid touching optical surfaces.
- ☐ Keep unnecessary materials away from the microscope.
- ☐ Prevent loose particles from entering the optical system.
- ☐ Handle samples carefully.
- ☐ Monitor image quality during inspection.
After Inspection
- ☐ Remove the specimen.
- ☐ Clean the sample area if required.
- ☐ Remove loose contamination using an appropriate method.
- ☐ Return objectives and accessories to the recommended condition.
- ☐ Protect the microscope from dust.
- ☐ Record maintenance or cleaning issues when required.
How Often Should a Microscope Be Cleaned?
There is no universal cleaning interval that is appropriate for every microscope.
Cleaning frequency should depend on:
- Frequency of use
- Laboratory environment
- Sample type
- Amount of contamination
- Presence of oils or abrasives
- Manufacturing process
- Manufacturer recommendations
- Inspection requirements
A better approach is to combineroutine inspection with condition-based cleaning.
In other words, do not repeatedly clean sensitive optical surfaces unnecessarily. Inspect them and clean them appropriately when contamination affects performance or when the manufacturer's maintenance procedure calls for it.
Microscope Selection and Cleanliness: The Connection
Microscope selection and maintenance should not be treated as separate subjects.
A microscope selected for demanding industrial inspection may require:
- Stable mechanics
- Appropriate optics
- Suitable illumination
- Reliable imaging
- Easy sample positioning
- Measurement software
- A controlled maintenance routine
Similarly, a microscope used in a production environment may face more contamination than one used in a controlled research environment.
The best equipment choice therefore considers not onlywhat needs to be seen, but alsowhere and how the microscope will be used.
A Practical Microscope Selection Checklist
Before purchasing or upgrading a microscope, ask:
- ☐ What type of specimens will be inspected?
- ☐ What is the smallest feature that must be observed?
- ☐ What magnification range is actually required?
- ☐ What resolution is required?
- ☐ Is reflected or transmitted illumination needed?
- ☐ What working distance is necessary?
- ☐ How large and heavy are the specimens?
- ☐ Is a stable mechanical stage required?
- ☐ Are images required for reports?
- ☐ Is digital measurement required?
- ☐ Will the microscope be used for metallurgy?
- ☐ What sample preparation is required?
- ☐ What level of environmental contamination is expected?
- ☐ What cleaning and maintenance procedures are recommended?
- ☐ Is technical service available?
- ☐ What calibration or measurement verification requirements apply to the intended application?
Frequently Asked Questions
What should I consider when selecting a microscope?
Start with the application, specimen type, required resolution, magnification range, illumination, working distance, stage, imaging requirements, ergonomics, and maintenance needs.
Is higher microscope magnification always better?
No. Magnification alone does not determine image quality. Resolution, numerical aperture, optical quality, illumination, specimen preparation, and other factors determine how much useful detail can actually be observed.
How should microscope optics be cleaned?
Use the cleaning method recommended by the microscope manufacturer for the specific optical component. Avoid ordinary tissues, abrasive materials, excessive pressure, and unsuitable solvents.
Why does specimen cleanliness matter?
Dust, oil, polishing residue, and other contamination can create artifacts or obscure genuine surface features. A clean specimen helps produce more meaningful observations.
How often should a microscope be cleaned?
There is no universal interval. Cleaning should be based on microscope use, environment, contamination, manufacturer recommendations, and inspection requirements. Routine visual checks can help determine when cleaning is necessary.
Is a digital microscope suitable for industrial inspection?
It can be, depending on the inspection requirement. Digital systems can be useful for image documentation, sharing, measurement, and reporting, but the complete optical and imaging system should be evaluated rather than the camera specification alone.
Selecting the right measurement role
Choosing the right microscope begins with theinspection objective, not the magnification number on a product brochure. Know moremicroscope
For metallurgy, manufacturing, quality control, and laboratory inspection, consider the complete system:optics, resolution, objectives, illumination, working distance, stage, camera, software, sample preparation, ergonomics, and maintenance.
Cleanliness is equally important. Dust, oil, polishing debris, fingerprints, and specimen contamination can affect what the operator sees and may lead to misleading observations.
A practical approach is therefore:
Select for the inspection task. Prepare the specimen correctly. Keep the optical system clean. Control the inspection environment. Document important observations.
When these factors are managed together, microscopy becomes more than magnification, it becomes a dependable tool for observation, inspection, measurement, and quality control.
Technical Review Note:Cleaning methods, solvents, optical handling procedures, and maintenance intervals should always be checked against the microscope manufacturer's instructions and the requirements of the laboratory's own quality system.
Author/Reviewer:Add the actual qualified technical author or reviewer
Technical Area:Microscopy, Metallurgy, Materials Inspection & Metrology
Last Reviewed:Add the actual review date
Comments
Post a Comment